
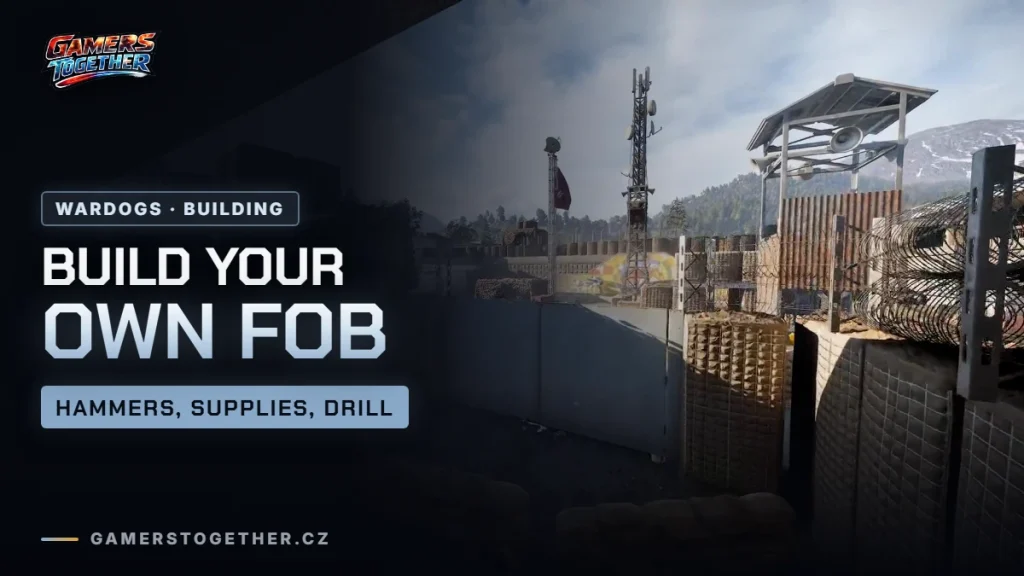
Building in WARDOGS revolves around the FOB (Forward Operating Base). A FOB costs $7,500 at the vendor and creates a radius around itself in which your team builds fortifications, mortars, anti-air defenses or a drill rig that pulls the Hot Zone (the moving subzone with a double payout) toward you. In this guide you will find where you are allowed to place a FOB, which hammers you need, the four types of supplies in the game, the building process step by step, a list of structures and how to earn money by building.
What a FOB is and how much it costs
You buy a FOB at the vendor as a piece of gear. Season 1 raised the FOB price from $2,500 to $7,500 so that, in the developers’ words, it would be more of a decision than a given. In your inventory it takes up a 2 × 3 area. Once placed, it does two things:
- it creates a radius in which you can build. You cannot put up larger structures without a FOB,
- it serves as a store of items and supplies that teammates can draw from.
A new FOB also contains a free hammer, so even a teammate who has not bought one can get to building.
Where to place a FOB
- Anywhere on the map except your own base. A FOB does not have to stand inside the Control Zone, the 2 × 2 km combat zone that three teams fight over.
- The number of FOBs is not limited. A team can have several at once.
- Towers tend to be FOB hotspots. Towers near the zone are good firing and observation positions, which is why FOBs are often built next to them.
Remember that points are counted from the players in the Control Zone: every 30 seconds the point goes to the team that has the most of them there. Even in the beta, players noticed that part of the team only builds and camps at a fortified base instead of going into the zone. So a FOB helps mainly when the team really pushes from it into the zone. How the zone and the towers work is covered in the guide Control Zone and Hot Zone.
Hammers: which one you need for what
Structures are built with a hammer and every hammer covers a different range of structures. Status as of 15 September 2026, Season 1.
| Hammer | What it builds | Unlock | Price per unit |
|---|---|---|---|
| Small Hammer | basic cover: sandbags, barricades, barbed wire | from the start | – |
| Medium Hammer | plus perimeter fortifications: HESCO blocks, walls, doors, gates | Support tree, $25,000 | – |
| Large Hammer | everything the smaller hammers can do, plus mortars | Support 8, $75,000 | $2,400 |
A dash means the figure has not been reliably verified yet. Season 1 made hammers significantly more expensive: the Large Hammer moved from level 7 to 8, its unlock from $25,000 to $75,000 and its price per unit from $1,600 to $2,400. The Medium Hammer unlock went up from $10,000 to $25,000. Levels and trees are explained in the article Roles and progression.
The four types of supplies
A hammer alone is not enough, structures and built weapons consume supplies. The game has four types:
| Supplies | What they are for |
|---|---|
| Build Supplies | building |
| Ammo Supplies | reloading built weapons, for example mortars |
| Fuel Supplies | refueling vehicles within the FOB radius |
| Mechanical Supplies | vehicle repairs |
The drill rig needs fuel and built weapons need ammo, so a FOB needs a regular flow of supplies. That is a job for drivers and pilots, who collect XP toward the Support tree for hauling supplies to a FOB. How supplies are carried by helicopter is described in the guide Helicopters in WARDOGS.
The building process step by step
- Shop at the vendor. Buy a FOB and the hammer that matches what you want to build. For a mortar you need the Large Hammer.
- Load up supplies. Put supplies on pallets (the Logistics tab) and load them into a car or a helicopter.
- Place the FOB. Drive to the spot you picked outside your own base and deploy the FOB.
- Unload the pallets. Drop or unload the pallets and store the supplies in the FOB.
- Pick a structure. Choose what you want to build and place it within the FOB radius.
- Hammer the yellow Xs. With the right hammer, hit the yellow X marks until each one is finished.
What you can build
- Fortifications: Sandbag Wall, Barbed Wire, HESCO blocks (HBlock), Door and Gate.
- Firing positions: the L81 Mortar and anti-air defenses.
- Stingray: a launcher for kamikaze drones against armored vehicles.
- Drill Rig: a drill rig that pulls the Hot Zone toward your FOB.
- Refuel Station: a refueling station for vehicles.
- Recon Tent: a camouflage tent that snipers will make use of.
How to aim a mortar and how to work with artillery is in the guide Artillery and the mortar.
The drill and the Hot Zone
The Hot Zone is a smaller moving subzone inside the Control Zone. A player in it counts twice toward the team’s head count and gets double money. A team can pull it to a tower by capturing the towers and entering a code. Builders, though, have a second route:
- a built and activated Drill Rig pulls the Hot Zone toward your FOB, so everyone around it immediately earns more,
- the drill rig consumes fuel, so it needs regular deliveries.
APC: a mobile spawn near the zone
As soon as one of the teams reaches 20 points, the M113 APC armored transport appears at the bases and the team can spawn on it. A FOB itself offers no spawn, so a mobile spawn near the zone is exactly what the APC is for. You can only spawn on it while it is standing still, so park it and leave it alone. The driver gets XP and money for everyone who spawns on the APC.
How a builder earns
Building earns money without shooting, which is why it suits new players too. A builder’s income:
- Finished structures. Every structure you put up earns you XP toward the Support tree and a bit of money.
- Hauling supplies. Supplies delivered to a FOB bring in Support XP.
- Supply crates. You fill a crate with supplies, set the prices and the money from your teammates’ purchases goes to you.
- Destroying enemy structures and vehicles. It earns Support XP and money. For vehicles the reward is higher inside the Control Zone and higher still in the Hot Zone.
The specific amounts from the beta may no longer apply after Season 1, which is why we do not list them. An overview of all income is in the article Money in WARDOGS.
How an opponent destroys your base
Player-built structures are not indestructible. Opponents use rocket launchers, tanks, C4 and IED charges, mortars and artillery against them. An enemy FOB can also be broken into with a pry bar (the Halligan Bar). How to take a FOB and how to defend it is covered in the guide How to destroy a tank, a helicopter and a FOB.
FAQ
Since Season 1 a FOB costs $7,500 at the vendor. Before the season it was $2,500.
The number is not limited. A FOB cannot be built at your own base, though.
It does not, you can place it anywhere on the map except your own base. Points are counted from players in the zone, though.
The Large Hammer. It unlocks in the Support tree at level 8 for $75,000 and one unit costs $2,400.
Build a Drill Rig at the FOB and keep it supplied with fuel. Once activated, it pulls the Hot Zone toward your base.
No, a FOB itself offers no spawn. A mobile spawn near the zone comes only from the M113 APC armored transport, and only while it is standing still.